Some of you will have seen the fugly fairing in the flesh, but for anyone wanting a jog through the job from start to finish, here's some blurb & pics.

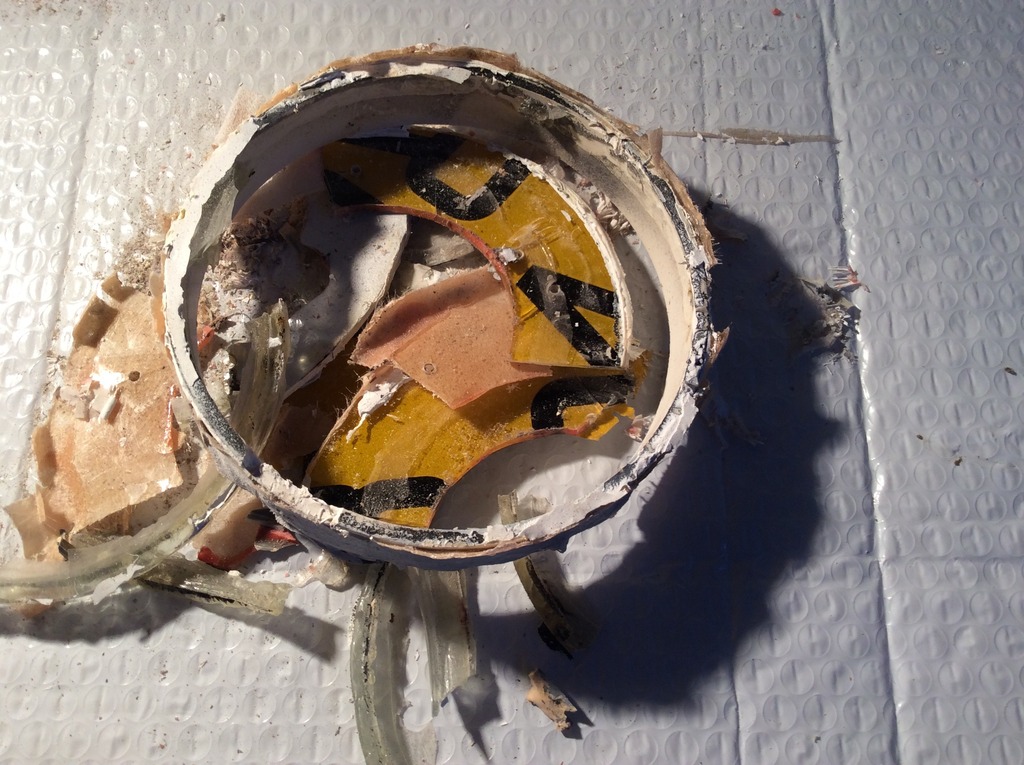
I didn't want music playing through the speakers that came with the fairing, so I removed them. I then discovered the massively over engineered speaker mounts, which the previous owner had made from resin soaked mdf, some weird laminated stuff, bits of old number plate, you name it!
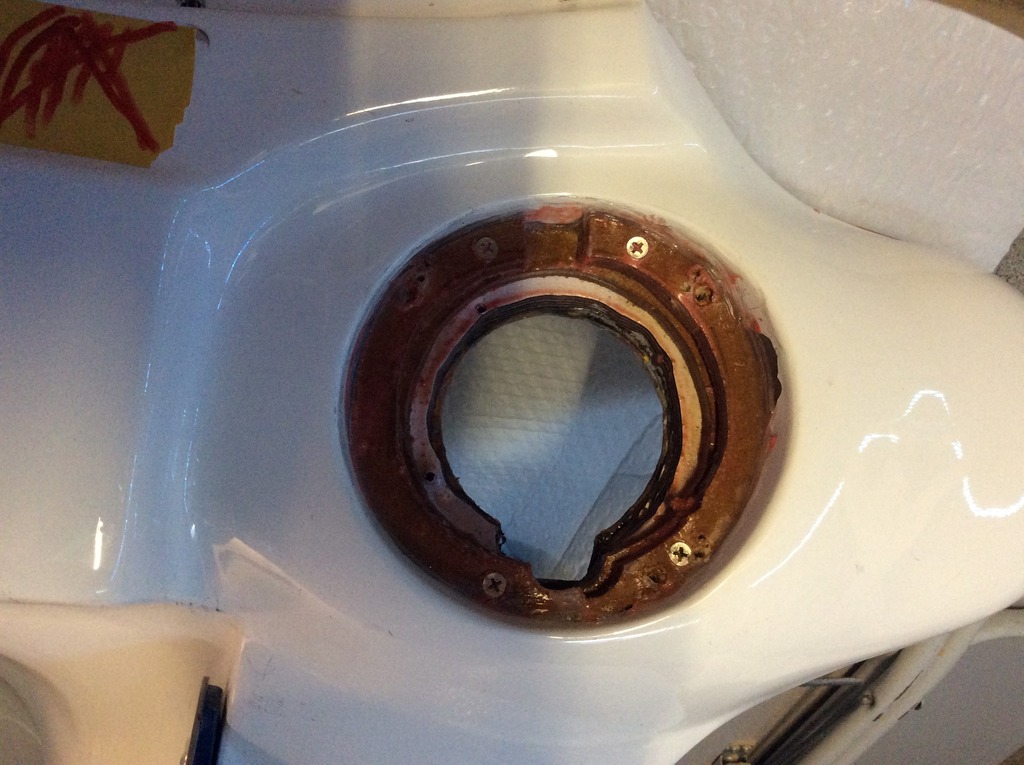
Just look how much crap I chopped out!!
Finally I was left with this profile….

I went to my mates woodturning shed and turned a couple of Perspex rings…

I then fibreglassed them in place from the back, and blended them in with body filler. These form something for little round doors to close against.
The next challenge was making the doors... I didn't want the challenge of fitting locks to the doors, but equally I didn't want some passing scrote thinking "I wonder if there's anything worth nicking in here!"
So as a decoy, I made the doors look like speakers!!!! In fact I just cannibalised the two speakers (I would have only got a tenner for them on eBay) allowing me to use the speaker grilles, which I sprayed in the Suzuki blue. A simple homemade hinge holds each one to the fairing, and tiny strong magnets keep them closed. Oh and a bit of black plastic glued on the back makes it look like an actual speaker

. (Pics later in post).
I needed to make some simple little pods to sit behind the 'doors'.... I was only planning putting a few lightweight bits & bobs like phone cables, USB adaptor, etc, so they didn't need to be massively engineered.So I just made them out of thick felt, then impregnated it with fibreglass resin to stiffen/waterproof and bond them in place.
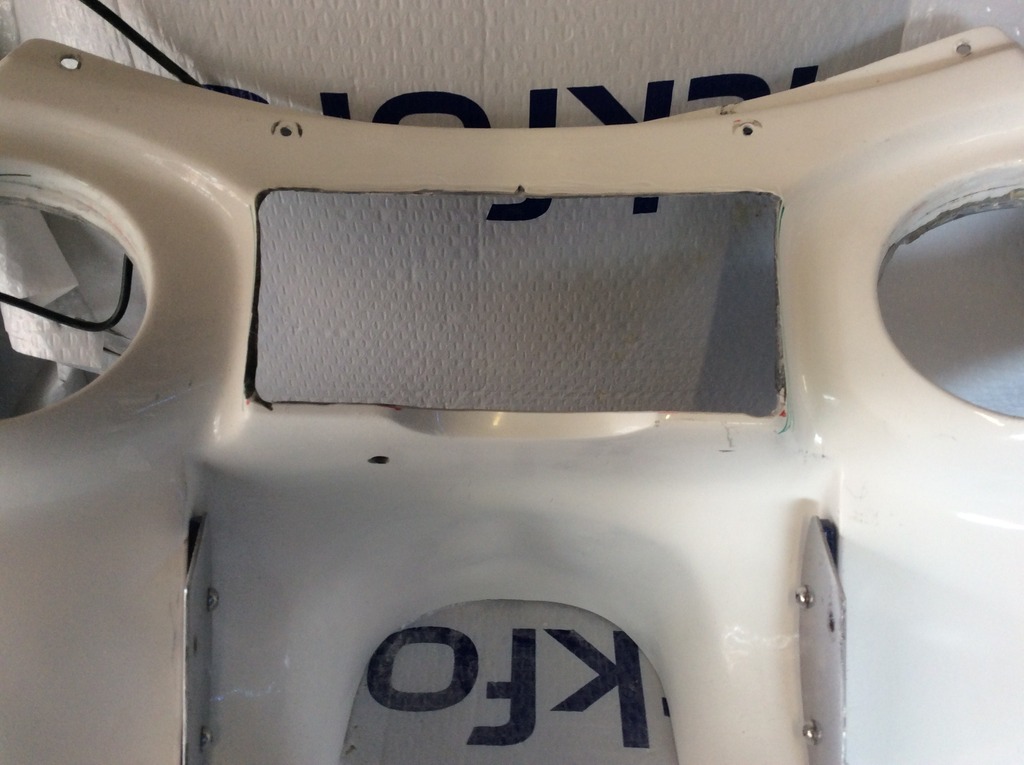
Next job was to remodel the inner "dashboard" which went “in and out in too may places” to allow me to mount a 7" tablet as a satnav. So I chopped most of the area out, and was left with this.
As an experiment I use a technique copied from some of the car guys who build custom subwoofers from a light mdf skeleton, with light stretchy fabric stapled to it, which morphs to the shape, then is impregnated with resin and sets hard. Then the reverse side is reinforced with fibreglass cloth and resin, and the front side is smoothed out with body filler.
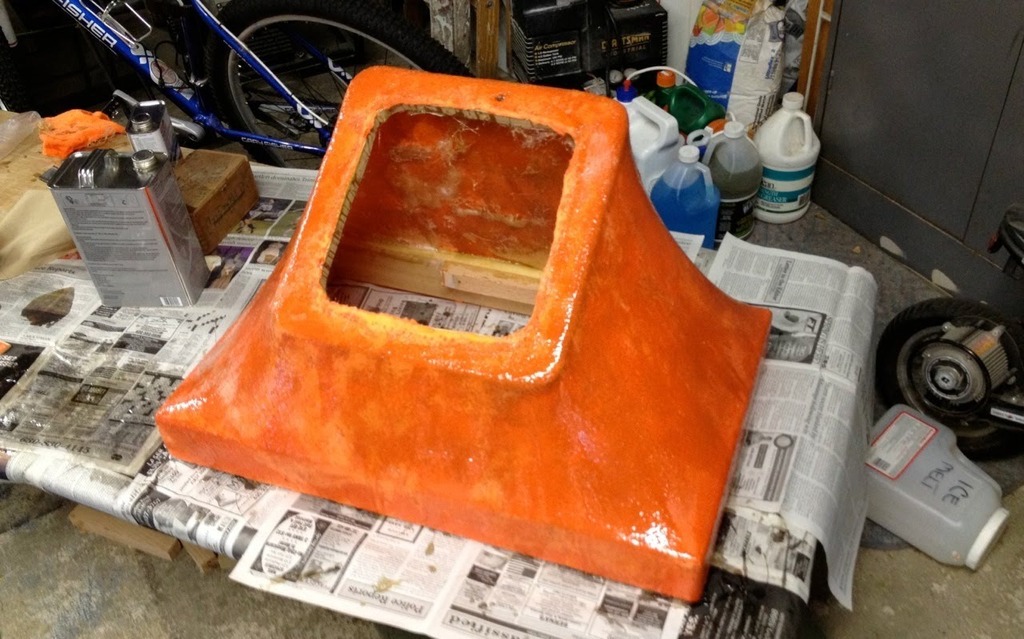
I didn't have anything to staple to, so I just used clothes pins and tape to tack the fabric in place, then applied resin.
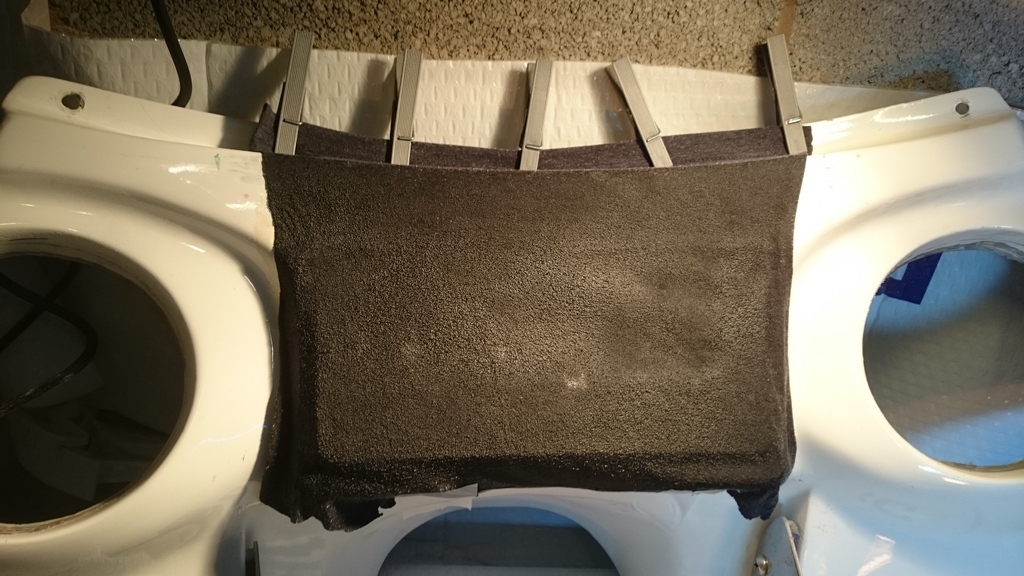
Once hard I trimmed off the excess, applied fibreglass matt & resin to the reverse side, then sanded the front a little before adding body filer. It's not perfect! Hats off to the guys who make body filler look easy! But it's ok.

After priming the filler I fancied spraying the whole"dashboard" with Plastidip for a Matt rubbery look. In fact I'd heard good reviews online for rustoleum peel coat, which is similar, and available at a tenner a tin from halfords. So that's what I used.
HUGE mistake. I followed the instructions and just did a light mist coat first. Within minutes it turned into a horrible crackle glaze! I think it must have reacted with the primer. So I emailed rustoleum who weren't much help, they also said amusingly that it's only designed to have a 3 month life on the vehicle. Ridiculous. Who would go to the trouble and expense of blacking something out if it's only expected to last for three months :wankr:
Fortunately a vigorous scrub with panel wipe melted it, so I could remove it. Then I just went for another coat of primer then a couple of coats of satin black. Bit boring but smart and simple.

And here's a close up of the speaker door when painted up...

On the downside, one did fly open on the way to France (did you manage to catch that padlock I'd stashed in there in your teeth John?). Also they're a bit of a bugger to reach into as they sit quite low and don't hinge very wide. Might have to have a rethink
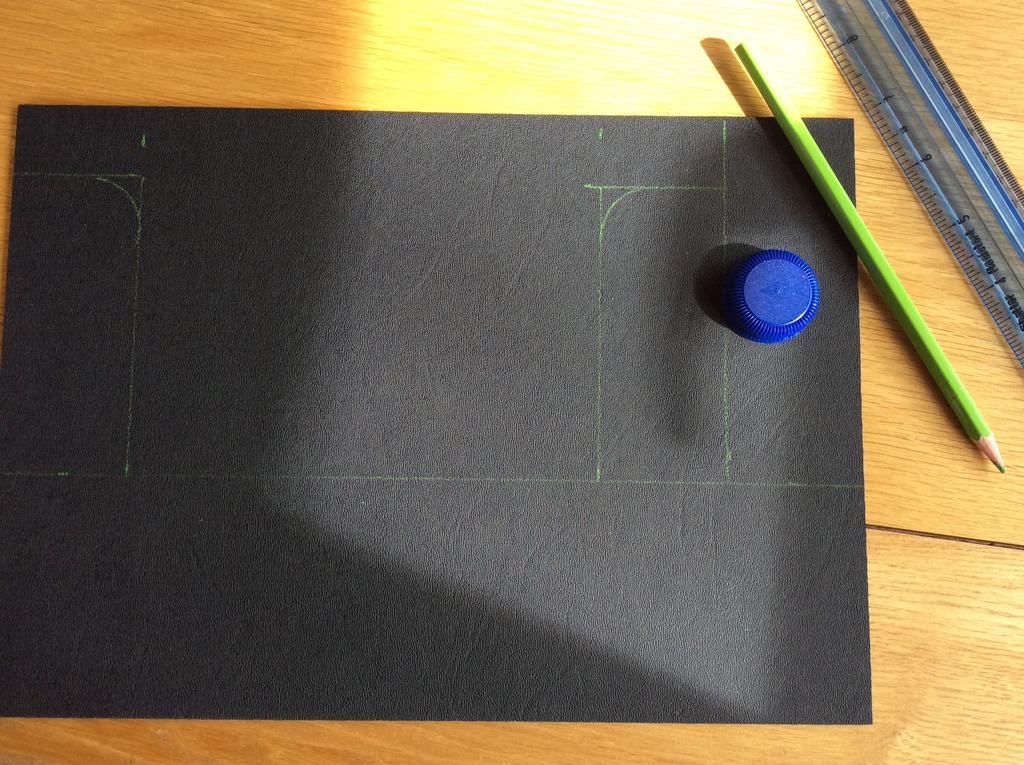
The satnav mount I had made previously from heat flattened and formed plastic drainpipe was good, but I was keen to try the pukka stuff called Kydex. It’s about £5 for an A4 sheet, and has a nice grain to it.
I found it no easier to work with (except it's flat to begin with) and was a bit too rigid to spring the tablet in and out. Might go back to mk1 drainpipe version.
Fairing outer
I used fibreglass mat and resin and body filler to fill in the spare "indicator hole" on each side, and repaired a few little scuffs and stone chips.
Fun with paint
I flatted down the white paint with a scotchbrite pad, removed any residue with panel wipe, then applied grey primer. I then gently de-nibbed that again with a scotchbrite before applying a metallic blue I had mixed to order by JTB in Salford. And at just £16 for The tin of blue, a tin of clear coat, a scotchbrite pad, a small bottle of panel wipe and a bunch of lint free cloths, seemed a real bargain.
As explained in the other thread, my first attempt at spraying wasn't good enough... The paint looked a bit dark, and the clear coat was orange peeley.
So I bit the bullet, sanded it all down, and went to buy another can from the same place.
My second attempt at spraying was much better... The blue went on much more evenly, and the clear coat got a respectable gloss with minimal orange peel... I had seen a few useful tips online such as warming the spray can in hot water when the weathers cold, so it atomises better.
I finished with 4 coats of clear coat, just letting it tack off for about 20 mins between coats rather than setting rock hard.
But what a muppet I am..... Lighting in my garage is gloomy, and the second can from JTB was way out.... Far too green... Not even close. But I wasn't aware of the mismatch until I moved the job into the daylight. Because the first colour was good, the second tin only changed the overall colour a little.... But it's just... Dingy.

Lovely pillion missus went back to JTB to complain and got a replacement can foc.... Which as it happens was as bad a match as #2!
So I've now abandoned JTB. Then I remembered a place in Ashton (north east Manchester), where my daughter got some paint mixed a couple of years ago... Premier car paints. Looked online.... Name had changed to HS Autopaints. So I got an early getaway from work one night and swung by.... The name is now DH Autopaint. If it's the same people, there's something fishy going on!
But the bloke was dead helpful... Based on the Suzuki YBA paint code, he got a paint chip sample for me to check against the bike in the daylight. Then when he mixed it in the cup, he brought it out to show me before loading it into the aerosol. And I have to say it looked a good match.
So, not a pro bodyshop job, but after all the arsing about, I'm relieved with the finished job (see final pic below)! In fact the finished colour is a little pale.... Not as rich as the rest of the bike. But it's witchcraft.... For all I know Suzuki put their blue on over a black base to get depth, whereas I went over grey primer.
Practicalities
With this style of fairing, the way it fixes to the bike, is that the inner fairing hangs off brackets on the forks, then the outer fairing bolts to that. Hats off to Sim who supplied some aluminium from which I made the brackets. I sanded and wire wooled them all in the same direction to create a brushed finish for lacquering, a bit like the forks.

To allow for easy future removal of the fairing, the wiring to the 12v socket, which mounts to the inner fairing incorporates a quick release connector. I also did the same with the wiring for the
little 3watt LED spotlights each side.
The wires just push through a hole in the inner fairing. To get at the connector, I just pull it back through. By the way.... As part of refurbing the inner fairing, I had blocked off a hole near the headlight with grp on the hidden bit and body filler on the visible bit. Guess what the hole was for? Exactly! Guess where I drilled a new hole? Exactly! :smirks:.
The fairing looked massive when I collected it, and in my mind's eye I was going to fit the satnav tablet centrally, with 12v socket one side, and analogue clock on the other. But in reality, space was tight, so I have this non symmetrical layout. BTW, the clock was a £5 Chinese eBay job... I just ditched the handlebar mount it came with.

I suspect I'll be revisiting the inner dashboard , as it looked OK "on the bench" but in real life, too much of its useful features like the tablet, the 12v socket and the speaker pod doors sit too low and are a bit buried behind speedo, clutch cable etc. Watch this space!
Oh and here's a half decent shot of the finished thing....


 Mal!
Mal!